Wednesday, July 31, 2013

Colorful, Fun Bread!!

Here's a fun twist to an immortal, albeit, a sometime boring staple. Grab a bread recipe, a couple bottles of food coloring, and your favorite little helper to make some colorful treats. 

First, prepare your favorite Italian or French dough as the recipe dictates. If you don't have a favorite recipe, here's a link to quite a few: http://allrecipes.com/recipes/bread/

After you prepare the dough, let it rest for at least a hour.
After the dough has risen, divide the dough into equal parts. The number of balls depend on how many colors you want to work with. 
 

Place one ball on a slightly floured mat and set the rest aside. Add a few drops of coloring. 


Knead the coloring into the dough until the color is evenly spread.

It'll take about 5 min of kneading. Most of that 5 min, the dough will look like this.
Hang in there. Eventually, the dough will look like this.

Repeat this process with the remaining balls of dough.


Now it's time to call your little one. Have them roll out each ball of dough.

Roll out to the size of your baking pan.

Brush a thin layer of water on top of the dough. 
Place dough strip in baking pan. Repeat process with remaining pieces of dough, firmly placing each color on top of the previous one.
Here's an example of another bread Archer and I worked on together. Here he rolled little pieces of dough and put in this small cake mold. We skipped the layer of water in this one. The water layer helps keep the different layers of dough together to prevent air holes. Press the dough in tightly and you should be fine.
Allow your dough to rest again for at least a hour then bake in oven as directed by your recipe. When the top is golden brown (though that's a little hard to see when working with colored bread), and the bottom sounds hollow when tapped on, it is done.


Here it is cut open, just beautiful!


The kids loved eating their colorful sandwiches and buttered toasts. I have to say, at times I felt as if I was going to bite down into a lovely piece of colored white cake, but, rest assured, the food coloring will not change the flavor of your bread.


This activity does take a little more time than others, but both my little ones loved helping me make the bread dough, and then rolling and shaping the dough into the molds. Plus it gets them acclimated to cooking at an early age, which is very important. :) 

(Oh, and did a fail to mention, you get lots of yummy bread at the end.)  :D

Enjoy!!

Tuesday, May 14, 2013

A Fun Fix for a Missing Zipper Pull Tab

Poor Alexander. Being the second baby means means not getting the same one-on-one attention that big brother did as a baby. It also means trying to play keep up with Archer and wearing lots of hand-me downs. Since Archer had such an extensive wardrobe as baby/toddler, I haven't had much need to buy Alexander new clothes.

On a recent rare occasion when I did buy Alexander a new hoodie, I felt like the universe was telling me I should just stick to the hand-me downs. Why? Well, when I got home, I noticed that the pull tab for the zipper was missing. Sure, I could have driven back to the store to get a replacement, but it was some distance from my house and I really didn't feel like doing that.

Instead, I drove to my local Michael's, with 40% coupon in hand, and bought a little motorcycle charm. (Archer loves all things automotive.) Using two pliers, I pinched the metal link that came with the charm around the crown, (tab holder), of the zipper.

It's a little hard to see, but, here's a pic of the charm and hoodie.

Also a little hard to see, but here is the new and improved hoodie.
I honestly think that the hoodie with the charm zipper is an improvement over the original because it personalized it based on Alexander's love of motorcycles. I love this idea and think I may "loose" other zipper pulls, just so I can personalize other items with more meaningful charms. I think your little ones will really like this one!

Enjoy!

Saturday, May 11, 2013

I Spy With My Little Preschool Eye...

Sometime ago, hubby and I were both hit with a nasty bug that was going around. Since we both had appointments with the same doctor in a 30 minute window, our boys had quite a long time to spend in the waiting area.

After what seemed an eternity in the waiting room, Archer could no longer patiently site, he was literally bouncing off the walls, turning the lights on and off, (which garnered nasty glares from the receptionist), etc, and nothing could calm him down. Nothing, that is, until he found a book in the waiting area...Where's Waldo.

For the rest of our time there, he sat glued in his seat, looking for Waldo in a sea of red and white. What a life saver!!

A few days ago, I sat trying to think of a new way to encourage my younger son to talk more, while teaching him new words, colors, shapes, etc. Then I remembered the success we had with Waldo; hence, Baby I Spy!
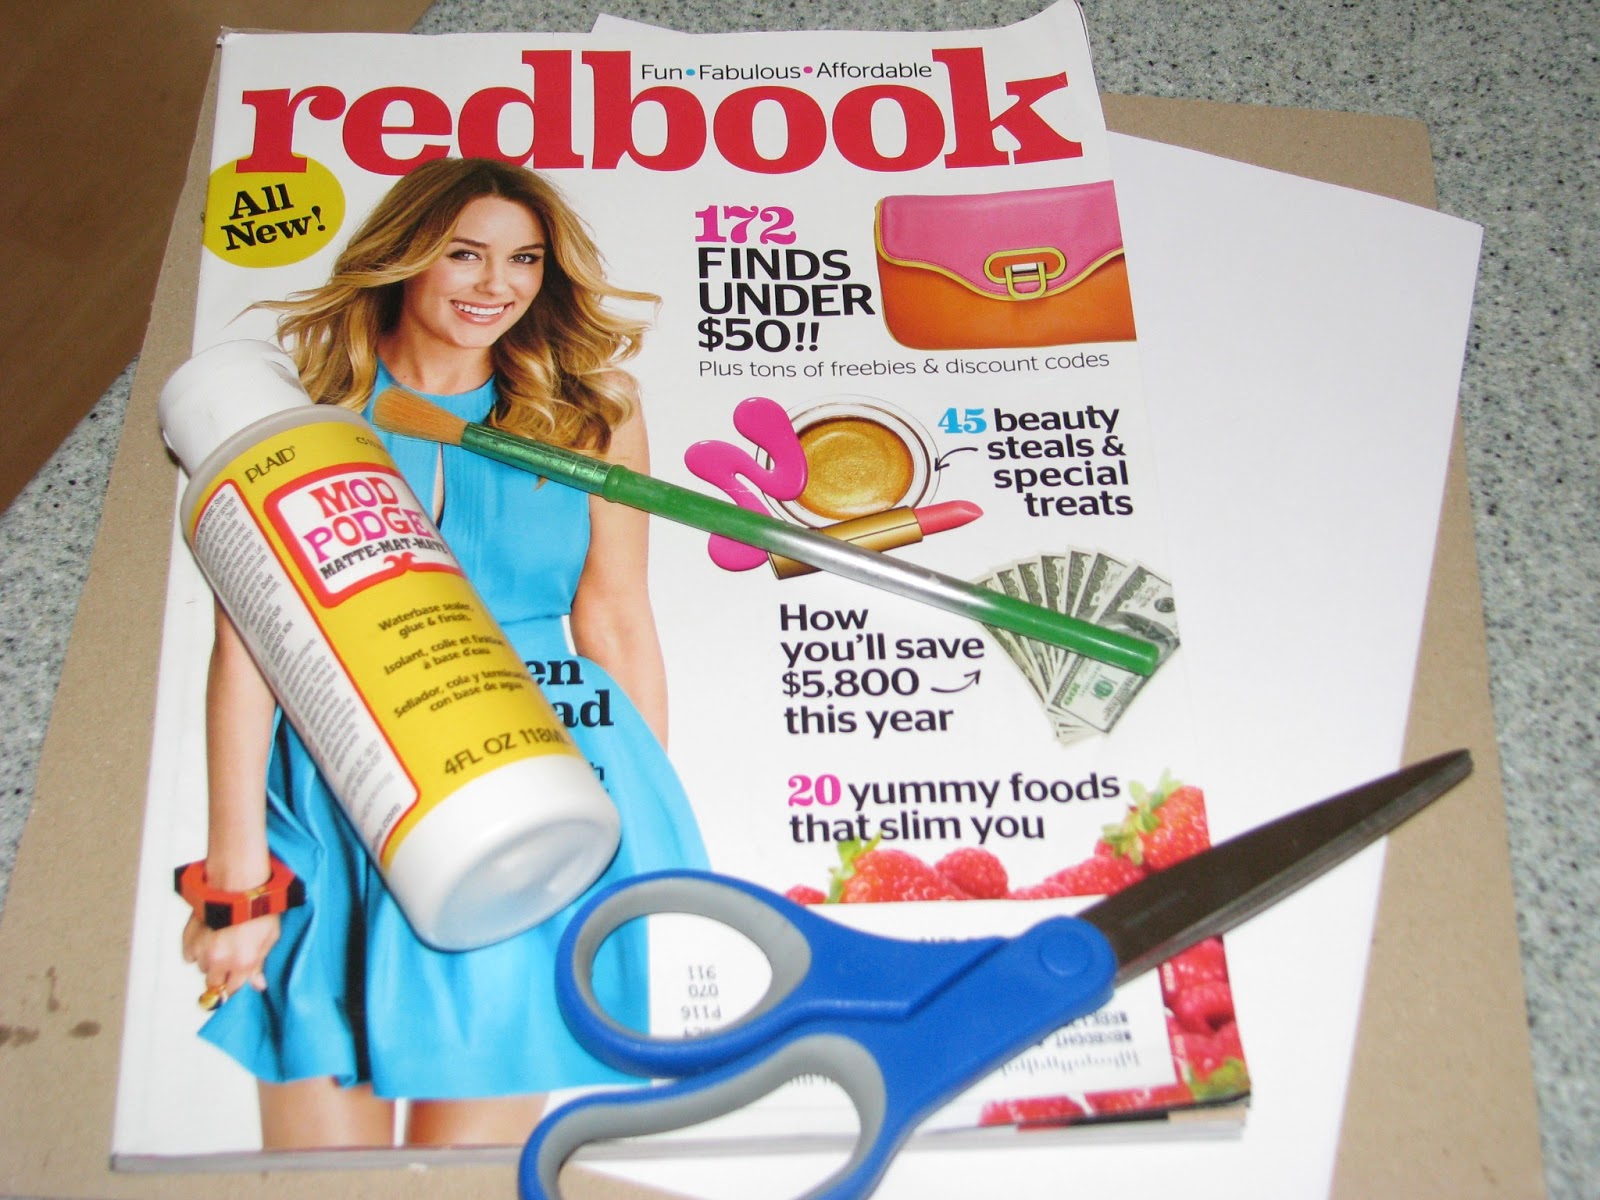
You'll need:

Large piece of cardboard
Magazine
Scissors
Glue or ModPodge
White Paper (optional)


If you'd like, glue white paper on top of the cardboard to give a clean background. Or, if you'd like, keep the cardboard bare, you'll be covering most of it with pictures anyways!

Flip through old magazines and cut out pictures of different sizes. You'll use the big ones to fill up the space and little ones to fill in the gaps. Focus on what you want to teach your child.

Are you interested in teaching color? Pick pictures that are simple and boast primary colors, (vs all the different hues in between).

What to teach your child about animals? Look for magazines that have a wide array of animal pictures.

What to emphasize healthy foods? Cut up those old Cooking Light magazines you have buried in the garage.

Alexander looking for a the shoe.

Alexander finding the shoe!


Enjoy!

Thursday, February 21, 2013

DIY Bird Feeders

Since winter always means slim pickings for wild birds, I thought it would be nice if the boys made a bird feeder to help the little hungry guys out. It's an easy and fun project. The best part is, the boys can watch the birds appreciate their efforts and they can learn a little about the joy of helping others. :)

You will need:

Empty milk carton, washed and dried
Bird seed
Stick
Ribbon
Scissors

Optional:
Paint


The first fun part of this project is going out and getting a stick!

As you can see, Archer had a lot of fun looking for the stick!
Next, have your little ones paint the milk carton. Mine were too inpatient to wait for me to cover the carton with white paper first. Covering it with paper first makes the paint job look better, but, it does make it less weather resistant. (Once the first rainfall comes, the paper will fall off, but the carton itself will be fine.)


Cut a small hole in the side of the carton and shove the stick in there. Cut a small exit hole on the other side of the carton and shove the stick through that. Make sure the hole you cut is smaller than the stick. This way the stick will be secure and won't fall out. Cut two small holes on the top and the carton and loop a length of ribbon through. Tie a secure knot.


Cut small holes next to the stick. Don't cut them too big or the seed will fall out!!


Stick a funnel into the spout of the carton and pour birdseed in. If you'e having the kids help with this part, please do this on a hard surface; do not do this on a rug or carpet. No matter how careful you are, some seeds will fall on the floor.

A lot of birdseed fell in our case!!!

Hang your bird feeder outside and wait for the animals to come!!

Okay, so this is not a bird, but, a hungry woodland creature is a hungry woodland creature. :)
Enjoy!!


Wednesday, February 6, 2013

DIY Scratch Off Valentines

In a couple of weeks, Archer will be at his first Valentine's Day party, thrown by his preschool; and of course, no Valentine's Day party would be complete without Valentine's Day cards. No surprise here, Archer selected a box of Angry Birds Valentine's to hand out to his classmates.

I thought, however, it might be nice if Archer made a card for his teacher. To make it a little different, we hid Archer's message to her behind a scratch off.

To make your own scratch off, you'll need:

liquid dish washing soap
paint


Yup, that's it - 2 things. It's a pretty simple and fun idea, and I'm pretty you have at least one of things items on hand. :)

Mix two parts paint with one part soap. Gently mix, if you mix too hard, your paint will be full of air bubbles.


Archer's Valentine with his message to Ms Miller.
Paint over the desired area. You will need to give it two or three coats.


I made a tester as well.


After painting over the message a couple times, it became clear that the paint Archer chose was not opaque enough. Learn from my mistake, don't try to paint over black marker with neon green!!

So, I painted over the green with silver paint, which wasn't a bad thing. It looks more like traditional scratch off cards.

Archer's message is successfully covered!!
I covered the test message with silver paint as well. Once it dried, we scratched it off...it worked!!


Obviously, this scratch off paint can be applied to more than just Valentine's Day cards. Use it for birthday cards, party invites, save the date cards, etc!!


Enjoy!

Tuesday, January 29, 2013

DIY - Temporary Tattoos

I haven't met one kid who doesn't love temporary tattoos. Here's an easy way for you and your kids to make temp tattoos at home.

You'll need:

Cloth
Gel ink pen
Parchment, (or tracing), paper

Optional:

Picture to trace from
Add caption
Of course, the boys wanted an Angry Birds tattoo, so I used an old page from Archer's Angry Birds page a day calender. All my artistic friends out there feel free to draw your tattoos free hand! :)

Cut out a piece of parchment paper and tape it over the picture. Use the gel ink pen to trace over the picture. Use bold lines, it'll transfer better.


DIY Temporary Tattoos!!

Aren't they cute?!

Wet the cloth with warm water. Place the tattoo face down on the skin. Making sure the tattoo doesn't move, gently pat it with the wet cloth for 30 seconds.

The picture will be a mirror image, a good thing to keep in mind if you will be using words.

And voila!!


Remember I said to be careful not to move the tattoo while patting it down?

I was speaking from experience. Luckily, there was still enough ink left on the temporary tattoo to try it again on the other arm. But, if I had done it correctly the first time, the final tattoo would have been darker. Learn from my mistake, these tattoos are much more sensitive to movement than the ones you buy from the store.
I know we've all heard rumors of how people can get ink poisoning from writing on your skin. That's actually an urban myth, click on the below links for more info.

Ink Poisoning: MedlinePlus
eHow Health
LiveStrong

Have fun with this one, enjoy!!!

Friday, January 25, 2013

DIY - Fingerpaint

So, here we are, "enjoying" our first snowfall of the year. As we recently moved, the majority of our toys and arts & crafts items are still packedaway; I needed an activity to keep the boys busy and my sanity intact. I rummaged through my drawers and cabinets to find items I could use to make a quick and easy project.

DIY fingerpaint is great! You probably already have everything you need to make it, the kids love making it, and then they love playing with it.

Here's what you need to get started:

3 tbsp sugar
1/2 tsp salt
1/2 cup cornstarch
2 cups water
food coloring


Combine the sugar, salt, cornstarch, and water in a small saucepan.

Even my younger boy got excited about making the paint!
Over medium high heat, warm mixture until is thickens. Give it a good whisk every now and then.


After a few minutes, you'll be left with a thick, clear paste. Remove pan from heat and allow it to cool.

I made my paint thicker than normal, this way, if the container is knocked over, the paint won't come spilling out. If you want your paint the traditional consistency, remove your pan before it thickens too much. Remember, your paint will continue to thicken as it cools.

Portion your paint into small bowls, jars, etc and add your favorite food coloring. Mix evenly and paint!! We didn't use all the paint we made, so I put in an old glass jar and will save it for another day.


Enjoy!