Monday, August 6, 2012

Backyard Scavenger Hunt!

Looking for a fun outdoor activity for your little ones? Try taking your children on a backyard scavenger hunt! This activity will require a little prework on your part.

First, eat 12 eggs and save the egg carton. :)

Next, grab your camera, go outside, and take pictures of 12 different items that your find in your backyard/neighborhood. Make sure these items are small and can fit in one of the hollows of the egg carton.

You'll need an empty egg carton and 12 pictures of items found in your backyard.

I pasted the 12 pictures onto a word doc and shrunk them so that the picture would fit inside the egg carton. Cut out the pictures and glue to the inside of the egg cartoon lid.

Hand the egg carton to your little one and let them go exploring!

And here is a completed scavenger hunt!
Enjoy!

Monday, July 2, 2012

Sneak in Those Veggies!! (With or Without a Pasta Machine!)

I have a problem most parents experience in preschool aged children...Archer refuses to eat. And when he does eat, he refuses to eat healthy. In an effort to avoid a battle at every meal, I decided to sneak in some veggies into a format I knew Archer would love...pasta!

Making pasta may seem intimidating if you've never made it before, but it is relatively simple to make once you've gone through the process. Granted, it does require more effort that reaching into your pantry and pulling out a box of store made pasta, but the taste of homemade pasta is worth tenfold the effort.

You'll need:

1 - 10oz box frozen, chopped spinach, defrosted
3 1/2 cups all purpose flour
5 large eggs
salt


1- Bring a pot of salted water to boil. Once water is boiling, add the package of spinach. Let it cook 45-60 seconds. Pour contents of the pot into colander and run it under cold water for a few sec. Once the spinach cools down, squeeze it until you remove all moisture.

2- Crack the 5 eggs into a bowl, add spinach, and a little salt. Whisk together.

3- Place the flour on a mat or clean working surface, make a well in the flour. Pour in the egg mixture. Slowly push in flour from the inside of the well into the egg and mix. When half the flour is incorporated, start kneading the dough. Once the dough has formed set it aside and scrape away any flour that was not incorporated.

4- Lightly flour your workspace and begin kneading the dough again. Knead until the dough is soft and smooth and just slightly sticky. It should not stick to the counter or your hands. This should take 5-10 min.

5- Wrap the dough in plastic wrap and let it sit at room temperature for 30 minutes.

6- Now you're ready to roll out your dough. You can either use a pasta machine or roll it out by hand. A pasta machine will more quickly and evenly roll out the dough for you and will also cut the dough as well.


If you don't have a pasta machine, you can roll it out by hand, but it will take longer and you may not be able to get it as thin as a pasta machine. Flour the dough before rolling to prevent it from sticking.

If you want to roll the dough out by hand, make a small ball out of the dough and flatten it with your hands as shown in the upper righthand side of the pic. Then finish rolling it out with your rolling pin.


Again, a pasta machine will cut the dough for you, but if you doing it by hand, use a knife to cut the dough in your desired shape. (Or with your child's favorite cookie cutters!!)The thinner the pasta, the less time it takes to boil. Also, the thinner the pasta, the less it tastes like spinach and if you're trying to use this to sneak veggies into a young child, this is a good tip to remember. Trust me, thick spinach pasta will be sent back by a discerning 3 year old!!

Enjoy!

Thursday, June 14, 2012

Personalized Match Boxes

Here's a fun, easy project the kids can help you complete. And since Father's Day is right around the corner, these would be great for the kiddies to hand out to daddies and granddaddies.

You'll need:


Modge Podge
Match boxes
Your favorite pictures
Scissors
Small brush
Magnet sheets (optional)

After selecting your pix, (Archer had a lot of fun helping me choose the pictures), use the match box to outline the part you want to cut out.
Using the brush, apply a thin layer of Modge Podge to the front of the match box. Here is a pic of Archer helping me apply the Modge Podge. Firmly press your picture to the match box. Apply a thin layer of Modge Podge on the the picture. Apply a second coat 15 minutes later to seal the photo.
Here's the finished product. I also cut a magnet sheet to the size of the boxes and glued it the back of the boxes. Now these match boxes double as cute magnets. This will come in real handy during a black out and you're looking for matches in the dark. You'll know exactly where they are!

I got a 10 pack of match boxes at my local grocery store for $.69. I bought the Modge Podge at Micheal's for $4.50 after using the 50% off coupon found in the newspaper. The 10 pictures cost under $1. I simply re-purposed a magnet sheet I got in the mail advertising pizza. So all in all, the whole project cost about $6.

Enjoy!

Friday, June 8, 2012

Semi-Homemade Wrapping Paper

So, I'm the type of person who wraps a gift literally 3 minutes before heading out the door to get to the event. I was recently invited to a birthday party that was to be held on a Wednesday morning, and since hubby would be at work at that time and would not be able to help me get the boys ready, I thought it would be best to wraps the presents the day before.

I go to my stash of wrapping and discover that I only have Christmas paper left. I really didn't feel like loading the kids into the car just to pick up wrapping paper, so I decided to improvise. :)

I measured and cut the paper to fit the gifts and flipped the paper over and had Archer paint the blank side.

Archer loves painting.

Here's the finished artwork.

These gifts look really nice in their Archer originals!
To make the gift more fun for the 4 year old birthday boy, instead of attaching a card, I added a children's book and noted on the inside cover who the gifts were to and from. I also attached a sheet of stickers, because what 4 year old doesn't love stickers? If you're wrapping gifts for a little girl, another fun addition would be to sprinkle glitter to the paint while its still wet. :D

Now, this semi-homemade wrapping paper may not be the most appropriate paper for a child's gift, (and was done since I was in a bit of a pinch), it IS a great idea for wrapping the Father's Day present your child intends on giving his daddy in about a week. You can also use this idea to wrap gifts intended for mothers, grandparents, uncles, aunts, godparents, etc. They love this kind of stuff! ;)

Enjoy!

Thursday, May 17, 2012

Homemade Honey & Oil Hair Mask

Here's a great homemade hair mask that I use to not only condition my hair, but to increase it's shine as well. It takes only 2 ingredients and 30 minutes.

Put 5 tbsp olive oil and 4 tbsp honey in a microwave safe bowl. (Add the olive oil first, that way the honey will glide right off the spoon.) If you have short hair, you can half the amounts.

Microwave honey and oil. I microwave it for 30 seconds, but microwave it to a temperature that works for you. Mix to combine.

Add to hair and scalp and cover your head with a shower cap. If you don't have a shower cap, a plastic bag works great. After 20 minutes, shampoo out. (It may take two shampooing to get all the mask out.)

Prepare yourself for some incredible hair that cost only pennies to get!


Enjoy!

Monday, May 7, 2012

Easy, Homemade Topiary/Mother's Gift Idea

Topiaries are beautiful pieces of living sculpture that bring beauty to a garden, deck, or house. They can be a bit pricey if you buy them premade at the store, which is a shame because they can be quick, easy, and cheap to make.

To any fathers of young children reading this blog, this is also a great Mother's Day gift idea to help your kids make for mommy.

Here is a step-by-step tutorial on how to make a heart shaped topiary.
 
You'll need an ivy, metal hanger, a pot w/soil, and a pair of pliers. Optional:floral wire and a stick
Using the pliers, straighten the hook of the hanger. Use the pliers and your hands to shape the rest of the hanger into a heart shape. The heart doesn't have to be perfect because the frame will be covered by the ivy.
You can push the hanger directly into the pot until the heart portion of the hanger touches the soil, or, you can secure the hanger to a stick with floral wire, (or twine, fishing line, etc) and push the stick into the soil.  
Plant the ivy in the pot and carefully wind it around the heart frame. Check your ivy once or twice a week and wind any new growth around the frame. Ivy grows quickly, so you should have a full topiary in a few weeks time. You can leave your topiary outside.
Or bring it inside.
If young kids will be making this for Mother's Day, obliviously, there are some steps they will need help with, (anything to do with pliers), but they will have a blast picking out the ivy from the nursery and helping wind the ivy around the frame. This will be a gift any mother would be proud to show off for years to come.

Enjoy!

Tuesday, May 1, 2012

Easy Ice Cream that the Kiddies can Make

Nothing is easier than going to the grocery store and picking up a 1/2 gallon of vanilla ice cream; nothing is more fun to eat than ice cream you made yourself.

For this easy recipe, you'll need:
1 tablespoon sugar
1/2 cup of any combination of milk and cream - I like 1/4 cup whole milk and 1/4 cup light cream
1/2 tsp vanilla extract
Pinch of salt

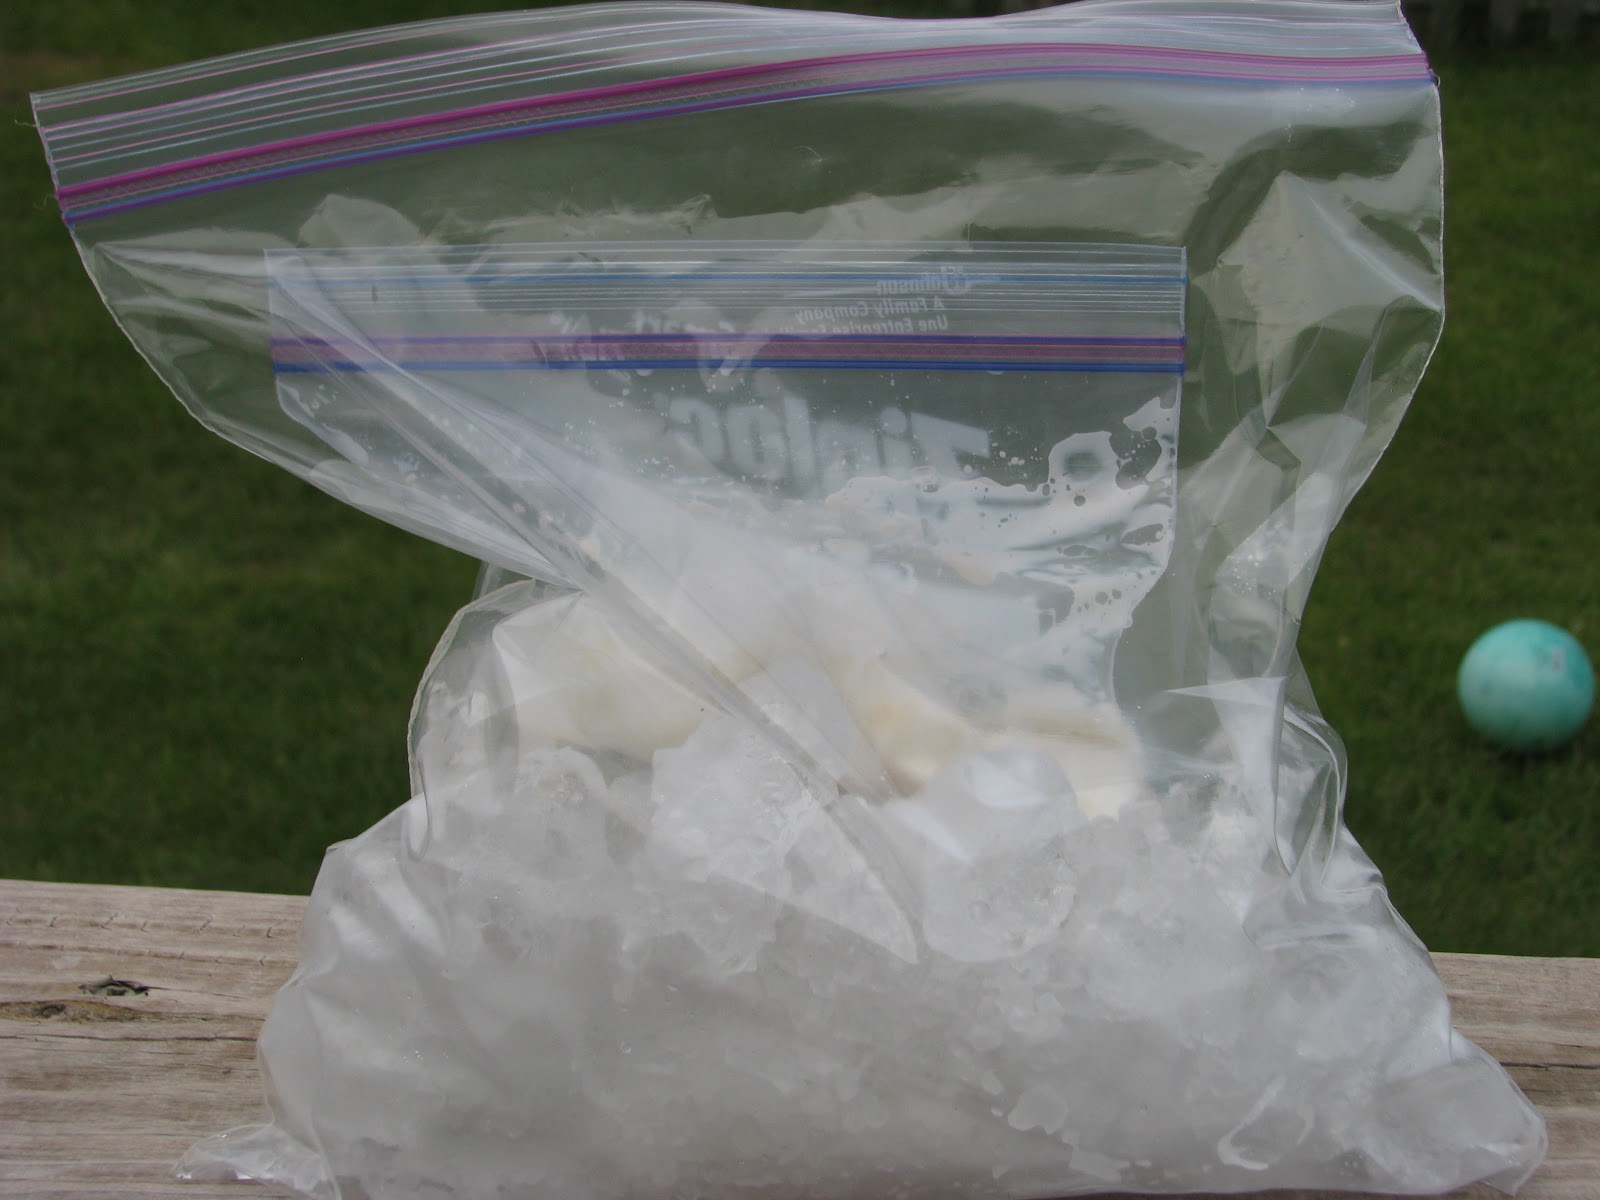
1 quart sized Ziploc bag
1 gallon sized Ziploc bag - Use a freezer bag if you have it, it's thicker, therefore stronger
6 tablespoons rock salt
Ice

1 - Put the sugar, milk/cream, vanilla, and salt in the quart sized bag; seal.
2 - Fill the gallon sized bag half-way with ice; add rock salt.
3 - Put the quart sized bag inside the gallon sized one and shake about 5 minutes.
4 - Wipe the top of the quart sized bag and spoon out the ice cream.
5 - Enjoy some delicious, soft-serve vanilla ice cream.

I did this outside just in case the gallon sized bag ripped.
A very happy Archer mixing his ice cream.
A very happy Archer eating his ice cream.
Enjoy!

_________________________________________________________________________
SocialLiving Deal - You know me, I'm always looking for some fun, cheap place to take the kiddies. For those living in the DC Metro area, I'm sure you've heard of the annual Strawberry Festival at the Briggs Chaney-Greencastle Farmers and Artisans' Market. A family pack of tickets includes 2 adult tickets, 2 children's tickets, a 4-item brunch sampler, 2 pony rides for the kids, and a $5 market coupon. The bundle will normally set you back $25 dollars, but click on the link below to get it for only $12.

Family Pack to Strawberry Festival for $12